Introduction

Are you an aspiring animator who wants to take their first steps in a full-fledged project? Or an experienced one who wants to take their skills to the next level?
In this comprehensive guide on animation production, we’ll cover production tips, necessary resources, and other essential topics. We hope it will help you gain a deeper understanding of the world of animation!
What skills are required for producing an animation?

To produce an animation, you’ll need to gain a wide variety of skills through study and experience.
In addition to drawing skills, you must have a good grasp on project management and soft skills in order to oversee each part of the animation process. This is the case even if you plan to create the animation solo - a good plan will make the rest of the process much smoother. Here are some basic skills you should have to produce an animation.
- Illustrating skills: Good drawing skills are required to create storyboards, design characters, and render ideas accurately.
- Animation software skills: You should be familiar with your choice of animation app or software, such as Clip Studio Paint, TVPaint, ToonBoom, Adobe Animate, and so on.
- Creativity: Creativity is required to come up with original ideas.
- Communication: You need communication skills to clearly put your ideas into images and convey them to your animation team and the audience.
- Problem solving skills: The animation production process can be long and complex, so it’s ideal to have flexible thinking to solve any issues that may arise.
- People skills: Animation is a team effort, and smooth communication and flexibility with other members are also important.
- Project management: Efficient work allocation and time management skills are essential to ensure the project meets its deadlines.
Designing characters for animation

Good character design is essential to a compelling animation. Character design is the blueprint of a character, be it a person or animal. It includes expressions, hairstyles, clothes, body types, and other aspects of the character that visually express the internal aspects.
In character design for animation, it’s common to use character sheets, which include not only the appearance of each character, but also their typical expressions or mannerisms. This helps maintain consistency in the character throughout the animation, even when the animation is created by multiple animators.
How do you draw characters for animation?
When designing characters for animation, animators need to make each pose of the character distinct and easy to read. They need to be creative and make a character that stands out and pulls people into the story.
Here are some tips for creating characters for animation.
- Start with basic shapes: When drawing a character, gauge the body structure and balance of each part by making them from simple shapes such as circles, ovals, and rectangles.
- Simplify facial features: A good animator can simplify an object or person and convey its essence in a simple shape. This gives them more room for expression, as they can simplify facial features, exaggerate expressions, and more. Watch all kinds of animation and learn the various styles of expression.
- Line up your characters: Once you have designed several characters, place them all on one page. Check that they are balanced and that the character designs are consistent.
Designing backgrounds for animation

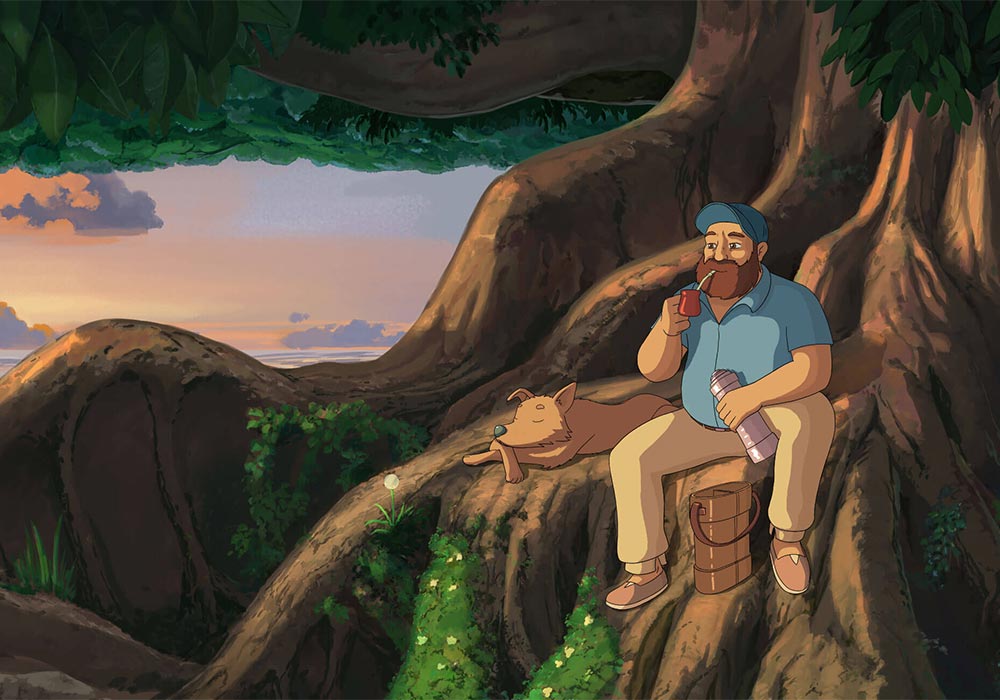
Background design refers to the design of the background that sets the stage for each scene of the story. Backgrounds can be composed of paintings or computer graphics such as 3D models, depending on the style and genre of the animation. 2D animations such as those from Studio Ghibli or Disney typically have large painted static backgrounds that the camera can pan across, and only parts of the background are animated as necessary. Meanwhile, 3D animations such as those from Pixar and game animations may have 3D models of the setting that can be placed in the digital viewfinder much like a real film set.
Background design supports the storytelling, playing an important role in determining the overall setting and atmosphere, such as the location of the characters, time of day, and overall mood and color. Here are some aspects to keep in mind when planning the backgrounds and settings for your animation.
- First, work out how many scenes and angles of each background you need. If you need multiple angles of a complex setting such as a room or a street, consider making a simple 3D mockup of the setting so that you can refer to it from any side and keep consistency in the placement of objects.
- Instead of creating the background image for each shot completely from scratch, consider if an extended background would work so that you can use the same background painting for multiple parts of a scene. In most animation software such as Clip Studio Paint, you can work on a canvas much larger than the final export size, allowing you to move the camera around on the canvas.
- To reduce double-work, use layer comps or copies of the same file to create different versions of the same setting, such as varying times of day and weather, or to make minor changes in the foreground objects.
- Make sure that the background’s style matches the design of the characters to some extent in terms of simplicity, style, and overall color scheme. In general, backgrounds for 2D animations should be slightly more muted than the foreground characters, so that the foreground elements can clearly stand out. For example, colors may be softer and lines may be thinner than foreground elements.
- Lastly, if you decide to assign the background art to another artist, keep in mind that background artists do not necessarily need to be animators, as long as they understand the needs and concept of the animation project. Many professional background artists specialize in background painting and do not participate in other stages such as keyframe animation or in-betweening.
Animation planning and storytelling

In this section, let’s learn how to create a compelling story and the production process. Here, we’ll dive into the importance of production planning for an animation project. This is crucial for producing high-quality work in a professional setting.
What steps are there to animation production?
Here are the basic steps for making an animation. Before starting an animation project, it is important to understand the overall production process.
1. Choosing a concept and idea
The first step in creating is to decide on a concept or idea. Identify the message or story, characters, background, and so on, and flesh out your ideas. Visualize them as if you are making a pitch using text and simple illustrations. In some cases such as commercial or educational animations, this phase may include research on the target audience.
2. Making a production plan
Once the story’s direction has been decided, next is the production plan. The production timeline, team members, and other necessary resources are planned in advance. This is an important step to ensure that the production stays on schedule.
3. Making storyboards and scripts
Storyboards and scripts are created to plan the production in detail. The storyboard visualizes character movements, story development, camera angles, direction, effects, music, and more. The script decides the lines of the characters and narration. These materials can be considered the blueprints of the production.

4. Character and background design
Once the production plan and storyboards have been finalized, it is time to design the characters and backgrounds. The story will be told through the characters and their actions. This phase visualizes the personalities of the characters and the setting design, to ensure the team shares the same vision. Character sheets and reference images are shared within the team.
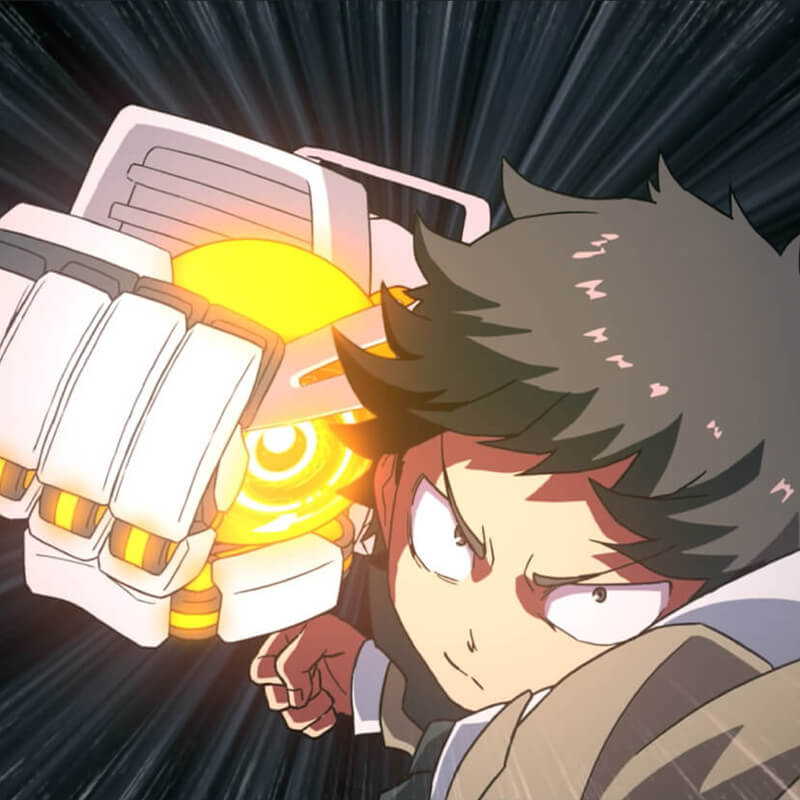
5. Animation production process
After fixing the designs, it’s finally time to start animating. While short productions may be done alone, commercial animations are usually handled by a team, with each member assigned a different role. Tasks such as keyframe animation, in-betweening, coloring, and effects may all be handled by different animators.
6. Audio production
Another part of the animation production is the audio, including music, sound effects, and narration. The schedule for the audio procurement will depend on the needs of the animation team, such as aligning timing with music or animating lip syncs.
7. Editing and brushing up
The last step is editing. Once all the animation clips have been prepared, they are composited and edited to complete the animation. The final composition may be done in a separate video production software. Effects such as lighting or scene transitions may also be added at this stage, and the timing and clip order are reviewed until the animation is completed.
How do you use storyboards for animation?
Storyboarding is the process of visually organizing the story and script. This is an essential step in animation pre-production. Storyboards include the shot sequences, camera angles, character movements, and overall scene structure. They help the team share the same vision of the project and create a clear guide to work from even if you are creating the animation on your own.
Storyboarding an animation helps to identify potential problems and areas for improvement before full-scale animation production begins. Here’s an example of pre-production using storyboards.
1. Create the concept and story beats of the animation.
2. Write a script that summarizes the dialogue and action between characters.
3. Create a storyboard that visualizes the main scenes, including notes for stage directions, timing, and any audio.
4. Make a test video using the storyboard sketches and placeholder audio, following the planned timing.
5. Make adjustments to the storyboards as needed based on the test video.
6. Finalize character designs, backgrounds, and other storyboard elements.
7. Allocate tasks to each team member, such as background painting, character animation, keyframe drawing, in-betweening, effects, and audio.
8. Start the animation production, referencing the storyboards.
What Artists Are Saying About Clip Studio
-
 Juaco GarinDirector & ProducerArgentina
 - [The] drawing tools feel very real and the animation interface is strongly based on the procedures of traditional animation
-
-
 kamiIllustrator & AnimatorPhilippines
 - CSP is really made with the artist in mind
-
 OkamotoAnimation Director & IllustratorJapan
 - It's… amazing for my animation process, as I can work in the same software and tools I'm used to
-
CLIP STUDIO PAINT PRO
for character art, concept art, illustration
CLIP STUDIO PAINT EX
for comics, manga, webtoons & animations
PRO
EX
Single-page illustrations & comics
Multi-page comics/manga & illustrations
Up to 24 frames for gifs or short animations
Unlimited frames for professional animation
Natural, customizable pen and brush tools
Vector layers
More than 10,000 free downloadable brushes and materials
3D models and drawing figures
PSD compatibility
RGB and CMYK compatible
For macOS and Windows
-
Export and print multi-page files
-
Convert images and 3D models into lines and dot shading
Free technical support
Free web services & community
Clip Studio Ask / Assets / Tips / Share
Learn more about other genres!